Wednesday, September 29, 2010

MALABAR PARATHA

malabar paratha
Malabar paratha, the very name itself makes the mouth water. Any dish from the Malabar region is a delicacy. The delectable gently cooked, mild flavored malabar recipes are a pride to South Indian cooking. The malabar cuisine is famous for the non vegetarian recipes. When it comes to the vegetarian dishes the Malabar parathas takes the top position. These layered flakey flat bread just melts away in your mouth. I call these the king of all the parathas. I have been eating these from my childhood, but never I knew the way these are made. After coming to USA I became a fan of the Pillsbury frozen malabar parathas. I searched all the sites to get the perfect recipe, but failed. There was one blog which gave a full lengthy, but exact  restaurant version of the recipe. It is not possible for a normal housewife like me doing that version. At last I found a simple way in making the parathas. The parathas turned good, but I could not get the exact melting kind of parathas that we get in restaurants. Well I am totally satisfied with my try.     
INGREDIENTS
  • Maida (all purpose flour)             2 cups
  • Salt                                             to taste
  • Sugar                                          1 tsp
  • Milk                                            3 Tsp
  • Cold Water                                 to make the dough
  • Oil                                              1/4 cup( for dough)
  • Oil                                              4 Tsp(for frying parathas)
PROCEDURE
The main key for attaining perfect soft parathas lies in making the dough. Mixing dough for these parathas is an art by itself. First sift the flour and transfer it into a large mixing bowl. Now add 3 table spoons of oil and salt,sugar and mix them well. The flour should become crumbling. Now add the milk and mix well. Make the dough by adding water little by little. Make a very stiff dough, stiffer than the chapathi dough. Now by adding a table spoon of oil at a time knead the dough well. The kneading part is very important for attaining smooth parathas. The stiff dough should become a soft dough. Knead the dough for about 10 to 15 minutes. Now smear oil on the dough and let the dough rest for 15 minutes by covering with a cloth. The dough should look oily. After 15 minutes again knead the dough with some more oil. Now let the dough rest for 5 minutes. Your dough is now ready to make the parathas. Divide the dough into equal portions. Cover the dough with cloth and take each portion at a time before rolling. 
 fig 1fig 2


fig3Take a portion of dough and roll it on a smooth surface As the dough is oily you can easily roll it without it sticking to the surface. If needed apply some oil to the rolling pin to roll it easily. Don’t use flour in rolling.  Make it into a very thin chapathi. Don’t worry about the shape. The chapathi should be as thin as possible. See the above figure and that is how your chapathi should be. Now comes the important step. Smear some oil  on the chapathi.Gently lift the chapathi from one side and fold the dough alternately, one fold to the above and one fold below. The folds should be just like the saree folds or the fan folds. Now it should look just like the one which is in above figure.
fig5
fig7


MALABAR PARATHA
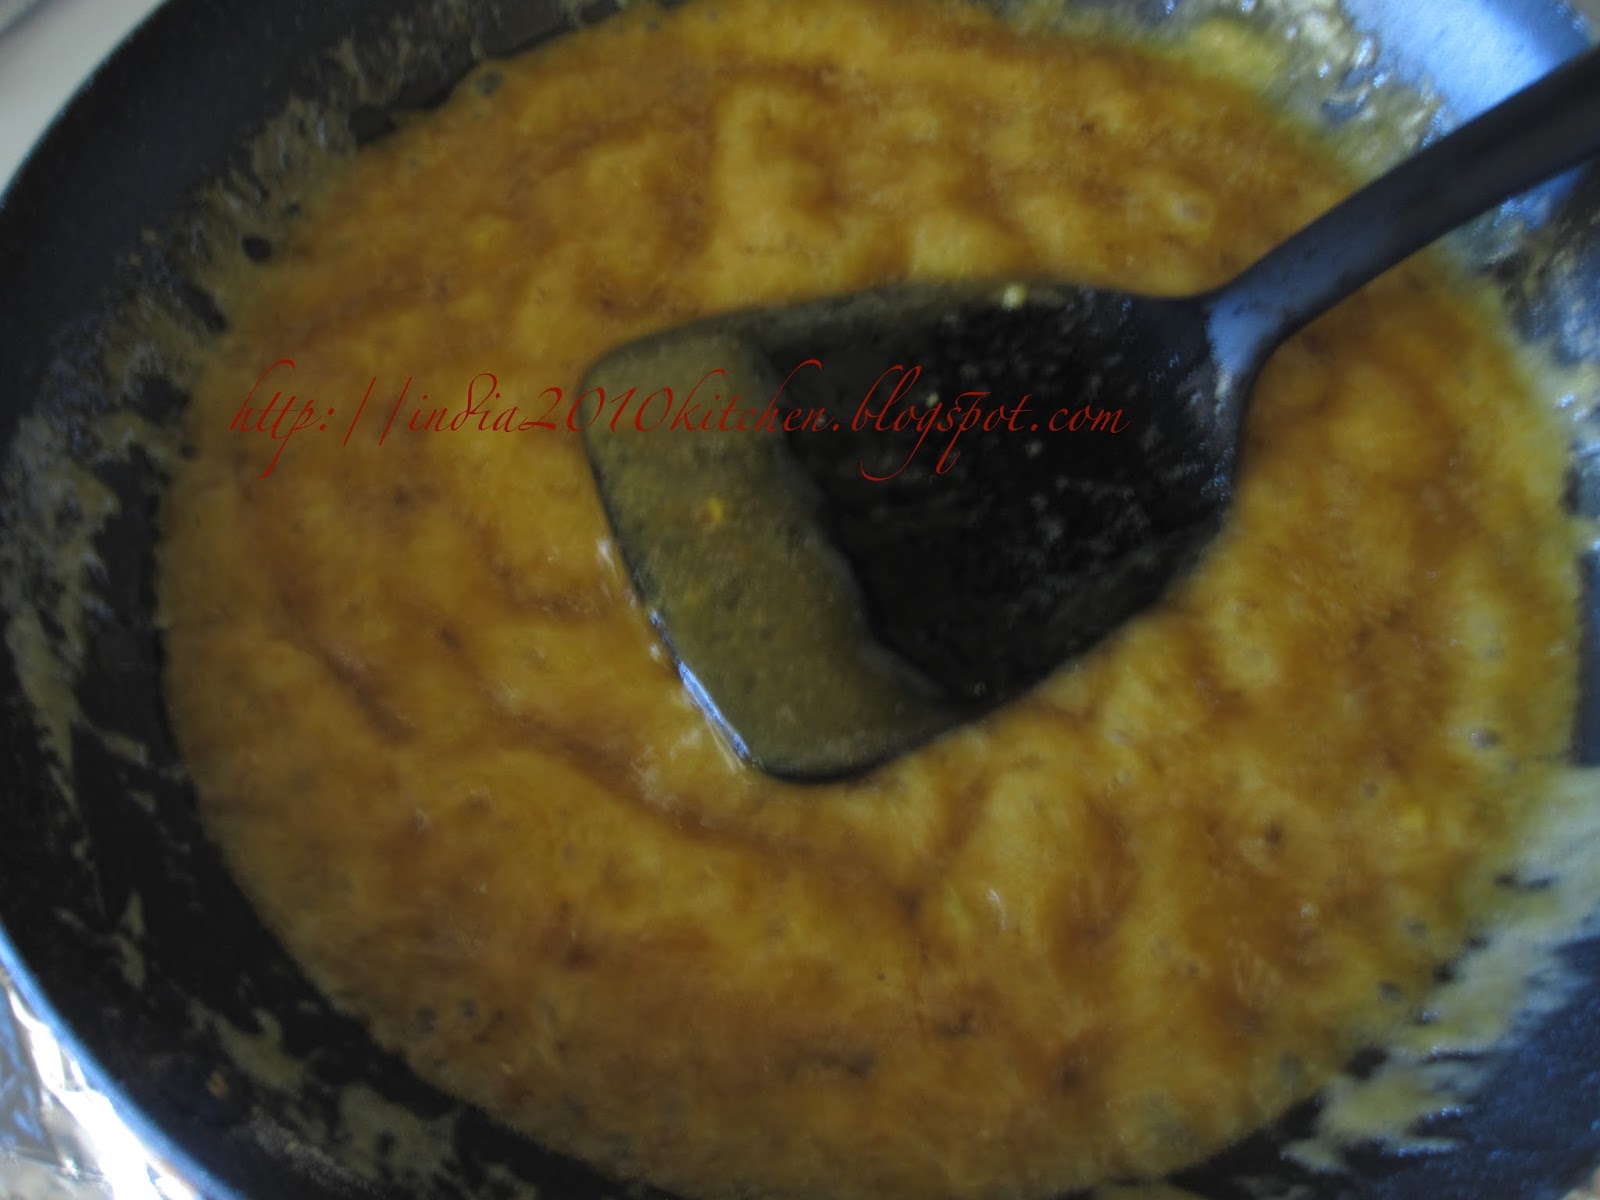
Again roll it as a spring. Now it should look just like the above. Now smear some oil on to these rolls and flatten into a round paratha. This should be of 4 cms thick. For this final step if you know how to  flatten the paratha with hands, do it that way. This way you can get spiral layered flakey paratha.  Do not apply excessive pressure while doing the final step. On a hot tava gently fry the paratha on both the sides with some oil to golden brown. Now the delicious parathas are ready to be served with and any curry of your choice.TIPS
  • I used oil for the whole process, you can use butter for a different taste.
  • Use some green onions while mixing the dough to enhance the taste.
  • A hand full of finely chopped vegetables of your choice can also be used while making the dough.(onions, leafy greens, cauliflower, cabbage etc).
MALABAR PARATHA

Tuesday, September 28, 2010

OATS DOSA

OATS DOSA
Oats Dosa
When it comes to cooking, it is said that tasty is not healthy. Lots and lots of oil or ghee or fat items makes the best tasting dishes…………this is not true. Tasty is also healthy is all that I want to say by giving this recipe. Oats, this is the popular word you hear among the dieting foods. Oats oats helps in reducing cholesterol level, stabilizes blood sugar level, reduces the cardiovascular diseases and many more health benefits.Low fat, high fiber oats are good for persons who are desperate in reducing their weight.
A bowlful of steamy oats porridge is a perfect way to start the day with. But unless you have strong  determination of eating healthy, you cant eat tasteless oats as it is. Many try to make the tasteless oats tasty by adding fruits, nuts, honey and many more. Oats dosa, oats upma, oats lassi etc are the recipes which are not only healthy but also tasty. Try out my healthy made tasty recipes and enjoy healthy eating without sacrificing your love for tasty foods. Having these yummy recipes once in a while keeps you fit and healthy.
INGREDIENTS
  • Oats                         2 cups
  • Salt                          to taste
  • Red chilly powder    1 tsp
  • Jeera                       1 tsp
  • Rice flour                 2 Tsp
  • Maida                       1 Tsp
  • Oil                            to make dosas
  • Curd                         1/2 cup(optional)
  • Water                       3 cups
PROCEDURE
Grind the oats in a mixture to a fine powder. In the same mixie jar add the remaining ingredients except oil and jeera. Blend every thing to a fine liquid consistency. Adjust the water to make the batter like the dosa batter. Now take the batter in a bowl and add the jeera. Set aside the batter for about 20 minutes. Now heat the dosa pan and smear a little bit of oil. Pour a ladle full of batter on the pan and spread it into a circle just like the regular dosas. Add the oil to cook the dosas. When the dosa turns golden brown flip the dosa and cook the other side. Remove the dosa and serve hot.
TIPS
  • Blending all the ingredients make the batter smooth without lumps.
  • Any filling that is used for the regular dosa can be used for these dosas also. Use the finely chopped onions as the stuffing and the dosas tastes best.
  • Any chutney can be used as an accomplishment. 

Monday, September 27, 2010

MYSORE PAK


Mysore pak is a traditional sweet from Mysore,Karnataka. Generous amounts of ghee is combined with besan and sugar to make this mouthwatering and mouth melting fabulous dessert. When elderly people are asked  about the sweets they know, the list come as ladoo, mysore pak, badusha, jangree etc. This says how famous is this sweet. Previously  mysore pak that was available was  hard and porous but melted in your mouth. But now a days we get a number of varieties, the harder ones, the very soft ones that had the khoya texture, Soft porous grainy brownish colored ones and many more. Today I am going to present procedure the soft porous grainy brown colored mysore pak.
The freshest ingredients should be used exactly in the same quantities  mentioned. The delicious sweet is to be prepared on a very low flame and you cannot relax even a single second while preparing the sweet. After attaining the perfect consistency the mixture should be poured immediately into a plate, any extra minute on the stove top makes the mysore pak hard and crumbling. Removing before the time would end up in making halva and not barfi. So the perfect time for removing the mysore pak is very important and this is known only on practice. Perfect aeration makes the dish a delicacy and it simply melts in your mouth.
Every time I made this sweet I used only the besan. But today I tried using milk powder and the taste is so yummy and from now whenever I make the sweet I shall use the milk powder. 
INGREDIENTS
  • Besan                          1 cup
  • Milk powder                 2 Tsp
  • Sugar                           1+1/2 cups
  • Ghee                           1 cup
  • Cardamom powder      1 tsp
  • Water                          1/2 cup
PROCEDURE
Sift the besan to remove any lumps and also to make the flour aerated. Heat a pan and on a very low flame fry the besan. The flame should be very slow and keep on stirring the besan, see that the besan don’t burn from the bottom. You will feel a distinct aroma and this is the time you can remove the besan into a plate. Combine the milk powder with the fried besan and keep aside. Heat the ghee in a separate pan. 


Grease a plate and set it aside. Greasing the plate before hand make you remove the mixture at the right time.  In another pan pour in the sugar and water. keep the flame high. When the sugar melts and begins to boil with bubbles, reduce the flame to low and slowly add the besan mixture along with cardamom powder. Stir continuously and see that no lumps are formed. Any how, the besan is already sifted and fried so the  lumps are not formed. The below figure shows the sugar syrup and the besan sugar mixture.  


Now pour in the hot ghee into the mixture little by little and continue stirring. As the very hot ghee is poured you will hear the sizzling sound and find that air bubbles are formed  in the mixture. The below picture shows how the bubbles are formed immediately when hot ghee is poured in the mixture. Pour in the whole ghee little by little at a time while stirring continuously . Now increase the flame to a medium and stir until a light yellow colored frothy bubbly mixture is formed and the mixture oozes out the ghee. Now increase the flame to high stir for 5-8 seconds(not more than that) and transfer the mixture into a greased plate.

Keep the plate at an angle, this way you can remove excess ghee. After removing the excess ghee cut into desired shape even when it is still hot. Now let the mysore pak cool completely and then remove the individual pieces and store in a air tight container. The pieces can be store for about 15 days, but believe me your family is going to empty the container in 1 day. 


TIPS
  • Use fresh ingredients so that the mysore pak tastes great.
  • The ghee should be really hot while poring into the besan mixture.
  • Once you get the frothy mixture remove the mixture immediately into the plate.
  • If you find that you removed the mixture early from the stove or the mysore pak doesn't harden, don’t worry. Heat the mixture in a pan and stir for about a  minute over a medium flame. By this time it would harden. Now remove onto the plate and this time your are sure to get the perfect mysore pak.
  • Adjusting the flame as mentioned is an important step. Never keep the flame on high while making the sweet. Just before removing the mixture onto a plate increase the flame to high, stir for 5 seconds and pour the mixture on to a plate. This is the time when you get a light brown color.
  • The perfect time to remove the mixture from the stove is known only by practice.
  • Do not try to replace milk powder with milk.
  • If you are making the dessert in larger quantity take the help of you friend or family member to pour in the besan and the ghee. 

Friday, September 24, 2010

ONION PAKODA

ONION PAKODA
Onion Pakoda
Onion pakoda is a simple mouthwatering  snack which every one likes to eat when the climate is cool and the sky drizzles rain in your green garden. A plate full of pakoda with a cup of hot tea or coffee is a perfect snack when guests come. This doesn't need any pre preparation. Pakodas can also be had as a starter. Have these with sambar rice and it tastes yummy.
INGREDIENTS
  • Besan                       1 cup
  • Rice flour                 2 Tsp
  • Oil                            1 Tsp
  • Onion                       1 large
  • Green chillies            2(finely chopped)
  • Salt                           to taste
  • Turmeric                   a pinch
  • Curry leaves              a few
  • Oil                             for deep frying
Onion Pakoda
Onion Pakoda
PROCEDURE
Chop the onions into thin slices. Add the salt (enough for the pakodas) and mix well. Leave the onions aside for 15 minutes. After 15 minutes you will find the onions oozing out the water. Now to these onion pieces add the besan, rice flour, turmeric, chopped green chilies, curry leaves and one table spoon of hot oil. Mix all the ingredients well. The water in the onions will be enough to make a thick batter. If you feel the batter is not formed sprinkle little water and mix well. The batter should be thick and at the same time sticky. Heat the pan and pour in the oil for deep frying. When the oil is heated take a spoonful of  batter and gently drop in the oil. If you add more of the onions you can get much more crisper and tastier pakodas . Do not overload the pan with the batter. Fry the pakodas on a medium flame till they are crisp and golden brown and take them onto a paper napkin. Serve with ketchup and sweet or a cup of hot coffee.    
TIPS
  • Add a tablespoon of ginger garlic paste for a different twist.
  • To get soft pakodas increase the besan and mix the batter with water and make the batter a little bit thin as idly batter.
  • Add desired vegetables to make veggie pakodas.
  • Add a couple of spoons of hot oil while making the batter. The hot oil added to the pakoda batter makes the pakodas crisp and they melt away in your mouth.  Onion Pakoda

MANGO RICE/MAMIDIKAYA PULIHORA


Mango rice or mamidikaya pulihora as called in Telugu is a simple rice dish made with raw mangoes. The traditional tamarind rice has a elaborate procedure but this mango rice is very simple to prepare. This South Indian delicacy is made for Ugadi( Telugu New year day). It is made in the same way as the lemon rice is prepared. Try this for a different twist in your weekend lunch.
INGREDIENTS
  • Cooked Rice        2 cups
  • Raw mango         1 small
  • Oil                       1/4 cup
  • Chana dal            1 Tsp
  • Urad wash           1 Tsp
  • Mustard seeds     1/2 Tsp
  • Cashews              2 Tsp
  • Red chilies           2(cut to pieces)
  • Green chilies        2(slivered and deseeded)
  • Turmeric              1/2 tsp
  • Hing                     a pinch
  • Salt                      to taste
  • Curry leaves        a few
PROCEDURE
Peel the mango and grate it. Measure it and it should be 1 cup.  Take the cooked rice and let it cool. In a pan heat the oil and add the chana dal, urad dal, mustard seeds, cashews, red chilly pieces, hing, turmeric, curry leaves, one after another.  Fry all the ingredients on a slow flame. When the dals turn golden brown add the grated mango, slivered green chilies and salt. Cook well for two minutes and add the cooked rice. Mix well and serve hot.
TIPS
  • Frying the grated mango removes the moisture and the dish will turn yummy.
  • Add a tablespoon of grated coconut to enhance the taste.
  • I prefer cashew nuts to ground nuts for this preparation. If you like ground nuts add them.
  • Green chilies should be added along with grated mango. Adding green chilies to oil makes the dish very much spicy.
  • Turmeric should be added to oil so that the raw flavor is removed and rice gets even yellow color after mixing.
  • If the mango is not sour enough you can add juice of one lemon.
  • Frying the mango releases the sourness of the mango and enhances the taste.

Tuesday, September 21, 2010

BOTTLEGOURD WITH MOONG DAL


Bottlegourd, also known as bottle squash, doodhi or lauki is highly nutritive according to ayurveda. It contains a lot of water so it is said that lauki is good for bringing the body heat down. It is a very beautiful long spongy vegetable can be easily cooked and it easily absorbs any flavor. A variety of dishes can be made with, it can be made into curry or dessert or stew or combined with dals. This lauki is  a must item in the South Indian stews. Lauki dal can be made with either toor dal or the moong dal. When you are bored of the toor dal try out lauki cooked with moong dal. This tasty creamy dal with light spice is a yummy dish for lunch. It can be served with rice or hot chapathi.
INGREDIENTS
  • Bottlegourd                    1 cup chopped pieces
  • Moong dal                       1/2 cup
  • Green chillies                   2 (chopped)
  • Salt                                  to taste
  • Coriander                        2 Tsp chopped
  • Tamarind                        1/2 inch piece
for the tadka
  • Oil                                  1 Tsp
  • Chana dal                       1/2 tsp
  • Urad wash                      1/2 tsp
  • Mustard                          1/4 tsp
  • Jeera                              1/4 tsp
  • Hing                                a pinch
PROCEDURE
Wash the moong dal and add the bottle gourd pieces, tamarind and green chillies. Add 1+1/2 cups of water and cook the dal and veggie mix in a pressure cooker until 3 whistles. Mash the cooked dal and keep aside. In a pan heat the oil and add the tadka ingredients. When the tadka is done add it to the dal. Finally add the salt and chopped coriander and mix well. Enjoy the dal with hot steamed rice or roti.  
TIPS
  • Toor dal can also be used instead of moongdal.
  • Do not use red chilly powder if moong dal is used, as the taste changes.
                

Tuesday, September 14, 2010

BRINJAL WITH COCONUT AND CORIANDER


Brinjal is one such curry which I can have any number of times in a week. A quick easy to cook vegetable is brinjal. Apart from the plain brinjal fry, one more easy to make curry is brinjal with coconut, coriander, Ginger, green chillies. You can even omit any one of the ingredients, even then the curry tastes awesome. This curry is a crowd pleaser during festivals, marriages, functions. Choose the tender, long brinjals  so they cook quickly and the curry literally tastes yummy. Serve this delicious curry with hot steamed rice, ghee and plain dal.
INGREDIENTS
  • Tender brinjal                      1/2 kg
  • Oil                                         3 Tsp
  • salt                                       to taste
  • Turmeric                               a pinch
  • Green chillies                        2
  • Ginger                                  1/2 inch piece
  • Coriander                             a small bunch
  • Coconut                               4 one inch pieces
  • Jeera                                    1 Tsp
PROCEDURE
Cut the brinjals into small pieces. Put them in salt water, if you are not making the curry immediately. Heat oil in a pan and add half table spoon of jeera. When the jeera changes color add the brinjal pieces. Add the salt and turmeric. Cover with the lid and cook on a slow flame. Keep stirring intermittently. In the mean while grind the coconut, coriander, green chillies, ginger, remaining jeera to a paste. The mixture should not form into a fine paste, it should have a little crunch. When the curry is 3/4th done and the brinjal pieces are cooked, add the paste to the curry. At this time you can add a little oil if needed. Cover and cook for another two minutes and when the curry gets the flavor of the  masala switch off the flame and serve hot with rice. 

COCONUT POWDER (KOBBARI PODI)

coconut powder
Coconut powder / Kobbaripodi
South India is famous for the delicious podis, spice powders. These various aromatic spice powders are made by roasting different pulses and combining them, grinding them to fine powder. These podis have a longer shelf life and you can have them with hot rice or idly or dosa. When you are lazy and cannot cook any curry for your dinner, have these powders with hot steamed rice and ghee. Stews are the best accomplishment for the podis. 
Apart from the podis which are had with rice or breakfasts, there are some powders which can be used in curries, which enhances the taste of the curry. Coconut powder or kobbaripodi or kura podi is one such masala powder which can be used in preparing many curries. This is a multipurpose powder which can be used in curries, accomplishment for tiffins and also stuffing for making different curries and also to make stews. When you are a beginner for cooking, this podi is a gift for you. Fry any curry in oil, even without tadka, and add this powder. I am sure you will be filled with praises by your family.
Make the curry as usual without any other masala. Sprinkle this powder at the end and mix well. This kura podi can be used in making many curries. I will give a list of curries which can be made with this podi. Brinjal, bottlegourd, ridgegourd, bittergourd, Ivygourd (tindoli or dondakaya), beans, chowchow, ladies finger, capsicum.
Earlier I have posted many powders which can be had with rice. Now I present this delicious kurapodi which is used to make delicious curries  in a very simple way.
INGREDIENTS
  • Dry coconut                3 cups(grated)
  • Chana dal                    1/4 cup
  • Urad dal                       3 Tsp
  • Red chilies                   15
  • Jeera                           1 Tsp
  • Salt                              1 Tsp
PROCEDURE
Dry roast the grated coconut on a slow flame for 10 minutes. Keep it aside. Similarly dry roast the chana dal, urad dal, red chilies individually and let them cool. Make sure to fry on a low flame and the ingredients don't turn black. When all the ingredients cooled to the room temperature, add the salt and jeera and grind them to a fine powder . Store in a air tight container and use in your curries or serve with idly or dosa.
TIPS
  • This podi stays fresh for 1 month. By refrigerating this can be used for 3 months.
  • Do not use the oil in frying the dals, as the oil decreases the shelf life of the podi.
  • This can be used as a stuffing in Guttivankaya kura(stuffed brinjal).
  • Can use a tablespoon of coriander seeds to enhance the taste.
  • Use the dry roasted curry leaves for different taste.
  • Use the garlic flakes if you like, but consume it within 20 days.
  • Add a couple of spoons of the kobbari podi and a spoonful of coriander powder  to the sambar. This is a quick replacement for  sambar powder.

Friday, September 3, 2010

MIRCHI BAJJI

MIRCHI BAJJI (2)
Mirchi Bajji

On a cold rainy day when your appetite stimulates you to eat something hot and spicy, the only thing that comes to mind is the mirchi bajji or onion pakodi. This famous street food can be made at home. The spicy green chilies are stuffed with ajwain, tamarind sauce and then are dipped in besan batter and deep fried to make the mouthwatering and melting mirch bajjis. The bajjis that are made in exhibitions in India make me crave for more. Mirch bajjis as long as 8 inches can be had in exhibitions. When I was a kid I used to go to the exhibition to enjoy eating the long mirch bajjis and the gaint papads.
Coming to the making of these bajjis, choosing the green chilies plays a vital role. The chilies should be long and fat. The ones which are thin will be very spicy, so choose the fat ones.  The stuffing can be different types. In my place ajwain and tamarind juice are used. Alternatively peanuts and coconut can be used. If the green chilies are very fat you can go for the potato stuffing. Well if the mirchi is very mild the bajji tastes awesome without stuffing also. Here I came with a procedure to make tastier and mouthwatering mirchi bajji.
INGREDIENTS 
  • Mirch                            6-7
  • Oil                                for deep frying
For the batter
  • Besan                                1 cup
  • Rice flour                           2 Tsp
  • Water                                to make the batter
  • Salt                                    to taste
  • Cooking soda                     a pinch
  • Turmeric                            a pinch
  • Hot oil                               2 Tsp
For the stuffing inside the mirchi
  • Ajwain                                a tsp
  • Tamarind juice                    1 Tsp
  • Sugar                                  a pinch(optional)
  • Onion                                 2 Tsp
For the stuffing inside the Bajji
  • Onion                                  1 small(finely chopped)
  • Cilantro                               5-6 sprigs(finely chopped)
  • Lemon juice                        1 tsp
STUFFED MIRCHI
PROCEDURE
Take the green chilies, wash them and make a slit on one side, so that they can be opened. See that you don't run the knife all way through or underneath. Remove the white vein from the centre of the chilies and wash the chilies again. If possible put the chilies in salt water for a minute and use them. Now mix two table spoons of finely chopped onions, ajwain, sugar, tamarind juice. Take a small portion of mixture and stuff it into the chilies. Leave the chilies for half an hour or more.
To prepare the batter mix in all the dry ingredients and add a couple of tablespoons of hot oil into the dry ingredients. Mix the oil well. The whole flour mixture should be mixed well with oil. This makes the bajjis to be smooth and they melt in your mouth. You can even skip the cooking soda if your are health conscious. Now slowly add the water and mix well. The batter should neither be too thick or too watery. The consistency should be some what like the home made dosa batter consistency. Do not leave the batter for a long time, as the bajjis will absorb more oil if the batter is left for a longer time. Make the bajjis as soon as the batter is prepared.
Heat oil in pan. Choose a pan which is deep enough and fill it with oil until half of the pan. Take each of the stuffed mirchi and dip it inside the batter so that entire chilly is coated with the batter. If you feel that the batter is thin and you cannot coat the chilly, add more of the besan. Gently drop 2-3 coated chilies into the hot oil at a time. Fry the bajjis for 1 minute on a medium high flame. When the desired color is reached take them onto a paper napkin to remove excess oil. Serve these with any sauce or chutney or serve with the onions stuffing.   
MIRCHI BAJJI
Mirchi Bajji
Mix in the finely chopped onion, cilantro, lemon juice. Slit the mirchi bajji and stuff a spoonful of the mixture inside each bajji. Sprinkle a little bit of salt and chilly powder. Serve these mouthwatering onion stuffed mirchi bajjis as it is or with any sauce.
TIPS
  • The stuffing inside the chilies can be any thing of your choice. Try the coconut and peanut powder stuffing or the potato stuffing for a different taste.
  • The tamarind juice used reduces the spiciness of the chilies.
  • The rice flour makes the bajjis crisp and the cooking soda makes them puff up.
  • Keep the flame medium high as the bajjis absorb more oil at low temperature.
  • The oil in the pan should be more so that the bajjis has place to puff up. If the oil level is low you will end up with flat bajjis.
  • For a different variation try the mirchi bajji chat.
                       Cut the mirchi bajji into cubes. Add boiled and cubed potato, chopped onions, chopped tomato, chopped cilantro, a spoonful of lemon juice, salt and red chilly powder. Mix all of these well and serve with a drizzle of sweet and sour chutney on the top.

MIRCHI BAJJI
Mirchi Bajji

Related Posts Plugin for WordPress, Blogger...